


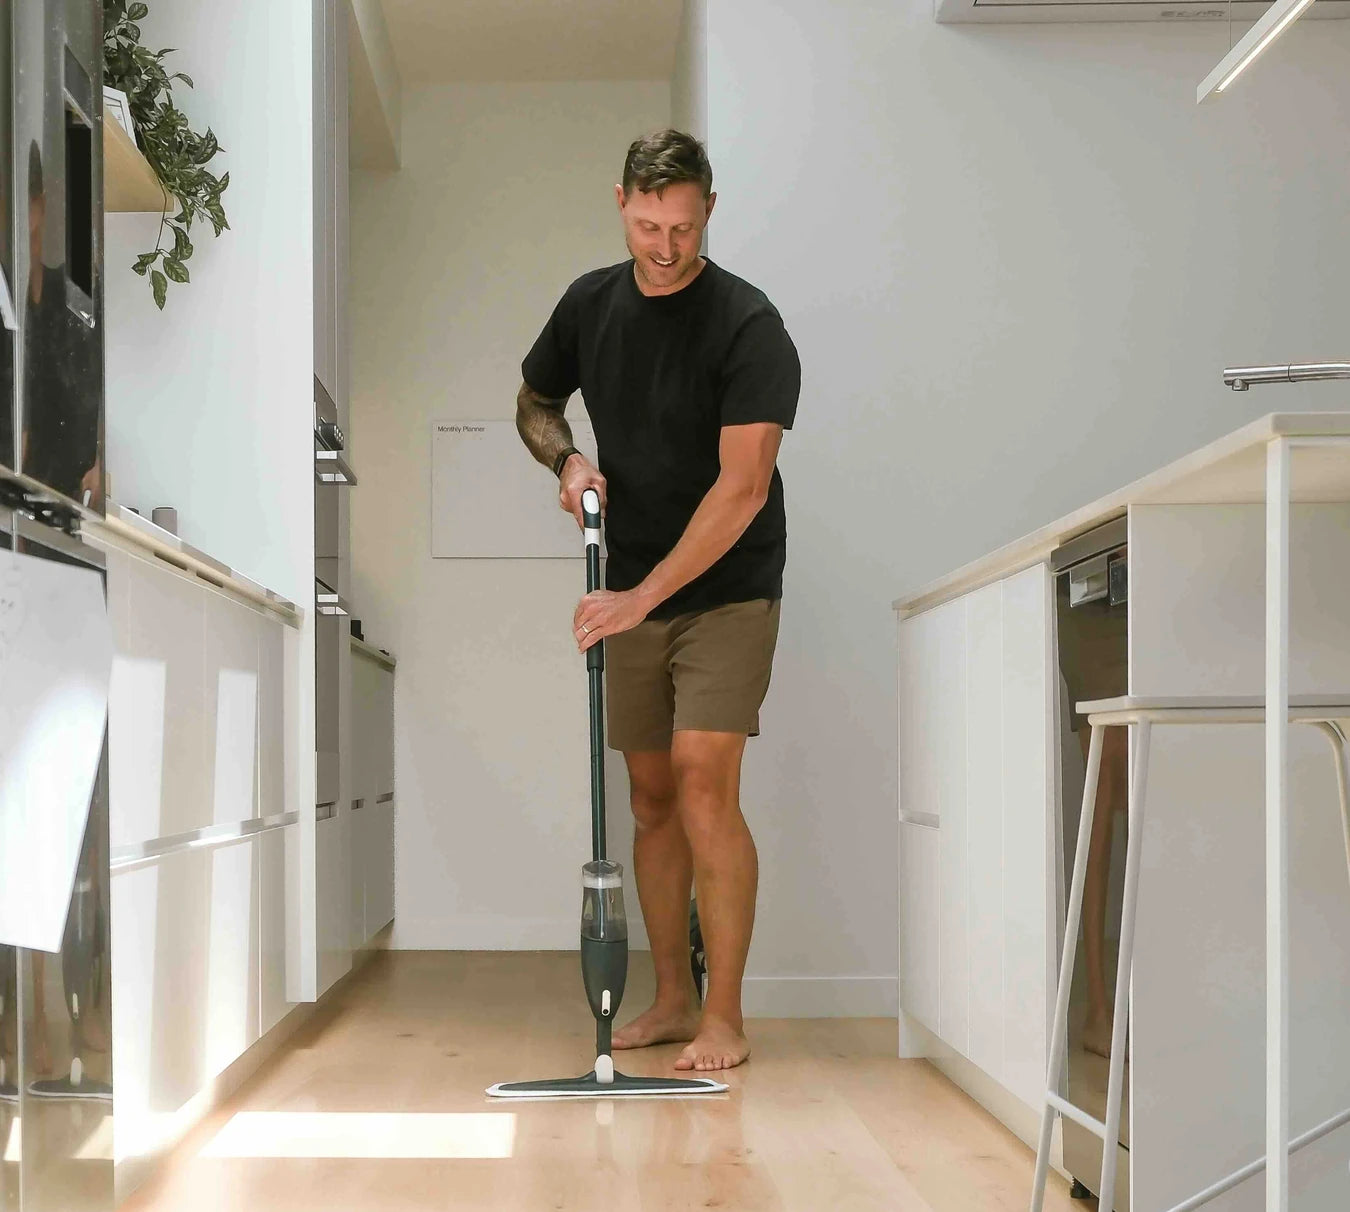

 Everyday Floor Cleaning Starter Kit · $149.00
 Everyday Floor Cleaner Concentrate · $49.00
 Everyday Spray Mop · $94.00
 Replacement Mop Heads · $19.00

Why Your Tile Floors Still Look Dirty (And How to Fix It)
Aug 17, 2026
You mop your tile floors, step back, and... they still look dingy. Sound familiar? You are definitely not alone. Millions of people run into the same frustrating problem, and the culprit is almost never a lack of effort.
The truth is, cleaning tile floors the right way takes more than just a wet mop and some soap. In fact, the wrong technique can actually make things worse, leaving behind a filmy residue that attracts even more dirt over time. Grout lines, product buildup, and hard water stains all play sneaky roles in keeping your floors looking less than sparkling.
The good news? Once you understand what is actually going wrong, the fixes are surprisingly simple. In this guide, you will learn why your tile floors keep looking dirty even after you clean them, what common mistakes to avoid, and the step-by-step methods that will actually get the job done. No fancy equipment required, just a few smart adjustments to your routine. Let's get your floors looking the way they should.
Why Tile Floors Are Harder to Keep Clean Than They Look
Tile has a reputation for being the "easy" flooring. Durable, waterproof, tough as nails. And honestly, that reputation is mostly deserved. But here's the thing nobody tells you: tile might be forgiving on your floors, but it is completely unforgiving of bad cleaning technique. Those dull, streaky, filmy results you're staring at after mopping? Almost never the tile's fault. It's the method. It's the product. And once you understand why, the fix is actually pretty straightforward.
Before we go further, let's quickly address grout. Yes, grout lines are their own beast. They're porous, they trap dirt and bacteria, and they genuinely need a different approach than the tile surface itself. This guide is focused on getting your tile clean and streak-free, not deep grout restoration. That's a separate conversation for another day.
Now, the two biggest mistakes most people make when cleaning tile floors.
Over-wetting is the silent culprit behind that hazy film. When you use too much water, it carries dissolved minerals and soap residue across the surface. As it evaporates, all that dissolved stuff gets left behind as a dull, filmy layer. Hard water makes this even worse. The tile looks perfectly clean when it's wet, which tricks you into thinking the job is done. Then it dries, and suddenly it looks worse than when you started.
Dirty mop water isn't cleaning your floor. It's redecorating it with thinner dirt. After a few passes, that bucket water is basically diluted grime. Every stroke after that is just spreading the same mess around in a thinner, near-invisible layer. According to SE Tile Connection's tile maintenance guide, proper technique matters just as much as how often you clean. And the porcelain tile cleaning paradox is a real, documented problem even among professional cleaners who are putting in genuine effort with the wrong setup.
The good news: fixing all of this comes down to using the right amount of product, the right tool, and clean solution from start to finish.
The Product Problem: Why Most Cleaners Leave Residue on Tile
Here's the thing about most supermarket floor cleaners: they're mostly water before you even open the cap. Pre-diluted formulas sound convenient, but they load in surfactants to compensate for that dilution, and those surfactants are exactly what's leaving that frustrating filmy residue on your tiles. Use a little too much (which is easy to do), and those surfactant molecules stay behind on the surface after the water dries. The result is a dull, slightly sticky film that actually grabs onto new dirt faster than a clean floor would. You mop, it looks okay for a day, then somehow looks worse than before. Sound familiar?
The counterintuitive fix here is less product, not more. Progressive buildup happens when people notice dull tiles and reach for extra cleaner to fix it, when the cleaner itself is the problem. Every additional application without a proper rinse adds another layer. Over time, that residue is doing more to dull your tiles than anything tracked in from outside.
This is why pH-neutral formulas are the recognised standard for tile floors. A pH of around 7 is where pure water sits, and cleaners formulated at that level clean effectively without breaking down grout sealant or leaving behind a residue that attracts more dirt. Acidic cleaners (yes, including vinegar, despite what the internet tells you) and alkaline cleaners both degrade grout over time with repeated use. A pH-neutral formula sidesteps that entirely.
A concentrated cleaner you dilute yourself solves the dosing problem at the source. You control the ratio, which means you can dial it back for light maintenance or slightly up for a deeper clean. It also means less plastic waste and a significantly lower cost per clean compared to ready-to-use bottles.
Our concentrated cleaner at Abstract Floor Care is made right here in New Zealand and formulated to be pH-neutral and safe across all hard floor types, tiles, timber, vinyl plank, laminate, and sealed concrete. One product, every floor in your house. That's the kind of practical solution that actually fits into a busy household routine.
The Technique Problem: Why a Bucket Mop Works Against You on Tiles
So you've sorted the product side, but there's another thing quietly working against you every time you mop: the tool itself.
A traditional bucket mop seems logical enough. Dip, wring, mop. Repeat. But here's what's actually happening on your tile floor after the first few strokes. That mop head picks up grime, grease, and whatever else is living on your floor. You wring it out, but that dirty water goes straight back into the bucket. Now every subsequent pass is spreading a progressively grimier solution across the tile. By the third or fourth stroke, you're essentially painting diluted dirt back onto the surface you're trying to clean. The floor looks wet, so it feels like progress. Then it dries, and you're left with a dull, streaky result that makes no sense given the effort you just put in.
The grout problem is where it gets worse. Grout is porous, and it actively absorbs moisture and debris rather than repelling it like the tile surface does. When a bucket mop over-saturates a tiled floor, that dirty water doesn't just sit on top. It gets drawn down into the grout lines by capillary action. Over time, this embeds grime at a level that routine mopping can't reach, the grout darkens, and cleaning becomes progressively harder. Excess water is genuinely damaging here, not just inconvenient.
A spray mop solves both problems in one move. It delivers a fine, controlled mist directly ahead of the mop head, so you're always working with fresh solution on a lightly dampened surface. No bucket, no recycled water, no over-wetting. The floor dries in minutes rather than leaving standing water to migrate into grout. On tile specifically, that controlled moisture means no streaking, no residue pooling, and a noticeably cleaner finish with considerably less effort.
The other practical win, especially for a typical New Zealand home, is consistency. Most homes have tile in the kitchen, bathrooms, and entry, then timber or vinyl plank through the living areas. A system that is safe for wood is safe for everything, which means you move from room to room without switching products, dilution rates, or techniques. One mop. One cleaner. Done.
How to Clean Tile Floors: The Actual Steps
Alright, let's get into the actual process. No fluff, no overthinking it. Here are the six steps that will genuinely make a difference.
Step 1: Dry sweep or vacuum first
This is non-negotiable. Mopping over loose grit, crumbs, and dust doesn't clean anything; it just turns dry debris into a wet, smeared mess that drags across your tiles. Over time, that grit acts like sandpaper on the surface glaze, dulling tiles that should still look great. Spend two minutes with a broom or a quick vacuum pass before the mop comes out. It takes almost no time and changes everything about the result.
Step 2: Mix your cleaner correctly
Dilution matters far more than most people realise. Too much product and you're left with a filmy residue that makes tiles look dull even after cleaning. Too little and you're essentially just spreading water around. Check the recommended ratio on your concentrate and stick to it. With our NZ-made concentrated cleaner, a little genuinely goes a long way, which is the whole point of a concentrate done properly.
Step 3: Use a spray mop with a clean microfibre pad
Spray a manageable section, maybe a metre or two at a time, then mop in overlapping forward passes. Using a microfibre flat mop correctly is one of those things that sounds obvious but makes a real visible difference. Avoid scrubbing back and forth in the same spot; work forward and keep moving.
Step 4: Work from the back of the room toward the exit
Start at the wall furthest from the door and work your way out. Simple logic: you never step on the section you just cleaned. No footprints, no re-contamination, no frustration.
Step 5: Let the floor dry fully before walking on it
With a spray mop, you're applying a controlled, light amount of moisture. Dry time is typically just two to five minutes. A bucket-soaked floor can take twenty minutes or more. That difference matters when you've got kids or a dog who have zero patience for wet floor signs.
Step 6: Check and maintain your mop pad
A dirty or matted microfibre pad doesn't clean; it redistributes grime. The microscopic loops in a quality microfibre head are what physically lift and trap debris, and once those loops are flattened or clogged, the pad is working against you. Wash pads regularly after use and replace them when they lose their texture. Replacement mop heads are one of those small things that keep the whole system performing the way it should.
What About Grout?
Let's be honest about something: grout is a completely different problem from cleaning tile, and treating it the same way is why it always ends up looking worse than the tiles around it.
Grout is porous. That means dirt, grease, and grime don't just sit on top of it, they soak in. A mop pass, no matter how good your cleaner is, skims right over the recessed grout lines without doing much at all. For anything beyond light surface maintenance, you need a stiff-bristled brush and some elbow grease. That's just the reality. This Ask This Old House video on DIY grout cleaning shows the difference mechanical scrubbing makes, and it's pretty eye-opening.
For regular upkeep between deep cleans, a pH-neutral cleaner is exactly what you want. It keeps soap scum and product buildup from accumulating in the grout lines, which is a bigger deal than it sounds because that buildup actively attracts more dirt over time. Our concentrated cleaner is pH-neutral and won't damage sealed grout, so if your tiles have been professionally sealed or recently regrouted, you're not undoing that investment every time you mop.
That said, if your grout is already heavily stained or discoloured, no mop cleaner is going to fix it. That's a job for a dedicated grout paste or an oxygen-based treatment, applied with a brush, left to dwell, and scrubbed out properly. It's a separate task from routine floor cleaning, and it's worth being upfront about that rather than chasing it with a mop and wondering why nothing's changing.
Keeping Tile Floors Looking Good Long-Term
The unglamorous truth about tile that always looks clean? It barely needs deep cleaning, because someone is staying on top of the small stuff consistently. That's it. That's the secret.
Sweep daily or run a robot vacuum before anything else becomes a problem. Dry debris tracked in from outside is gritty and abrasive, and once it gets wet during mopping, it moves into grout lines instead of off the floor. A quick daily sweep takes 90 seconds and prevents 80% of the visible mess before it starts.
For mopping frequency, match your effort to traffic. Kitchen and entry tile gets used hard every single day, so a weekly mop keeps it looking sharp. The bathroom or laundry? Fortnightly is genuinely fine. You won't notice the difference, and you'll save the time for something else.
Spills need immediate attention, especially anything coloured. The tile face will wipe clean without drama, but grout is porous and absorbs liquid fast. Don't leave a coffee spill to deal with later.
Check your mop pad regularly. A pad that's worn flat or matted down is not cleaning the floor; it's just redistributing what's already there. Fresh microfibre pads make a real difference to the result.
Finally, having one cleaner that's safe across every hard floor in the house, tiles, timber, vinyl, laminate, keeps the cleaning cupboard simple. No guessing, no grabbing the wrong bottle. Learn more about what tile floor maintenance actually involves if you want to go deeper on the specifics.
The Fix Is Simpler Than You Think
Here's the good news: if your tile floors still look dirty after mopping, the tile itself is almost never the problem. The real culprits are too much product, too much water, and a mop that is spreading dirty water around rather than actually removing it. Fix those three things, and the frustration goes away.
That is exactly what switching to a pH-neutral concentrated cleaner at the correct dilution, paired with a spray mop system and a clean microfibre pad, does for you. It removes residue buildup, controls moisture, and ensures every pass of the mop is working with fresh, clean solution rather than recycling whatever was already on the floor.
Our NZ-made concentrated cleaner is built around this approach. The right dilution, no filmy residue, safe for every hard floor in the house. And because one system covers tiles, timber, vinyl, and laminate, you are not juggling multiple products for different rooms.
If you are ready to stop re-mopping the same floor and actually see results, check out the spray mop system and grab a couple of replacement microfibre pads while you are there. Clean pad every clean, every time. That is genuinely all it takes.
Conclusion
Clean tile floors are absolutely within reach, and now you know exactly why yours have been falling short. The real culprits are almost never effort or intention. They are usually the wrong cleaning products, neglected grout lines, and residue buildup that quietly dulls your floors over time.
To recap the key takeaways: ditch soap-based cleaners that leave film behind, scrub your grout regularly with the right solution, rinse thoroughly after every clean, and use a microfiber mop instead of a traditional one.
Small adjustments add up to a big difference. Your next cleaning session is the perfect opportunity to put these fixes into action. Try just one or two changes today and see the results for yourself. Your floors have always had the potential to shine. Now you have the knowledge to make it happen.